บทความ

งานที่11 EAL - ARDUINO HOVERCRAFT

รูปภาพ
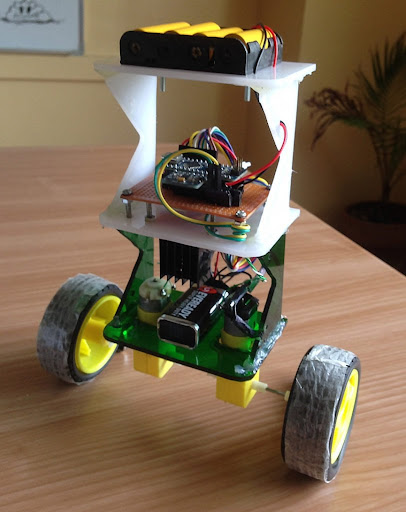
Step 1: Part List 3 More Images 1. The base part of the hovercraft is made of flamingo. We used a big square of it, that we cut out in the wanted dimensions and made the front-end circular. 2. 2x DC motors, for rotating the propel and the fan. 3. A stepper motor driver 4. A frame, for holding the motors. For our hovercraft, we made the frame out of wood and acryl. 5. A bluetooth module, for controlling the hovercraft. We used a HC-05 Bluetooth Module. 6. Arduino board, breadboard, wires, 9v batteries and a 12v adapter. We used the Arduino Mega 2560. 7. Propeller + Fan. We downloaded our propeller from Thingiverse, and printed them at our school (  http://www.thingiverse.com/thing:1733112  ) We use the same propeller as propel and fan, but removed the outer circle on the fan. Add Tip Ask Question Comment Download Step 2: Making the Boat 2 More Images In the center of the base, we cut a hole for the ...

งานที่10 How to use an Arduino to build a robot that balances itself like a Segway.

รูปภาพ
Ever wonder how Segways work? This tutorial will show you how to build an Arduino robot that balances itself — just like a Segway! How Does Balancing Work? To keep the robot balanced, the motors must counteract the robot falling. This action requires feedback and correcting elements. The feedback element is the MPU6050 gyroscope + accelerometer, which gives both acceleration and rotation in all three axes ( MPU6050 I2C basics ). The Arduino uses this to know the current orientation of the robot. The correcting element is the motor and wheel combination. Connection Diagram Complete Fritzing diagram Connect the MPU6050 to the Arduino first and test the connection using the codes in this  IMU interfacing  tutorial. If data is now displayed on the serial monitor, you're good to go! Proceed to connect the rest of the components as shown above. The L298N module can provide the +5V needed by ...

งานที่9 ARDUINO NANO BASED MICROBOT

รูปภาพ
This instructable was created to be entered in the  Robot Challenge . If I win, the parts will of course, go into robots like this one. Notes on how to include some of the very components in the prize packages are given in the last step. I am 28, so of course, I'm not going for the student prizes. I created this as a simple project for those just starting out in robotics. It is relatively inexpensive, requires minimal tools and is easy to build. Once finished you have an expandable robotic platform that fits in the palm of your hand and can be easily programmed in the Arduino environment. Here is is driving in a triangle, without any special add ons In the instructions I'll walk you through how to: Modify the servos for continuous rotation Fit the track hubs on to the servos Make a custom battery pack Wire it with a few connections Assemble it Program it Customize These and other additions can be mixed to make your own custom micro robot For the basic pla...